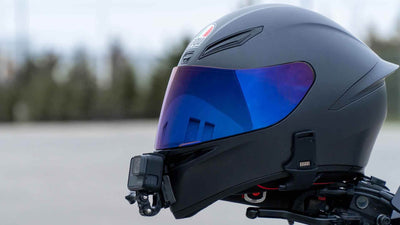
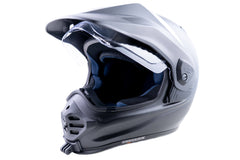
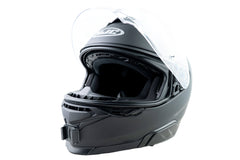
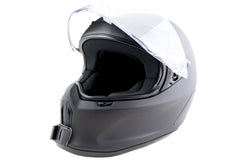
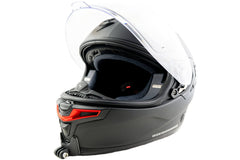
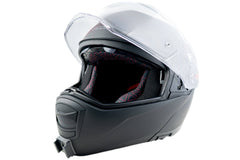
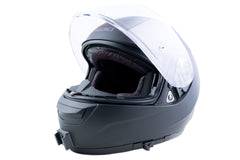
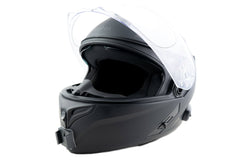
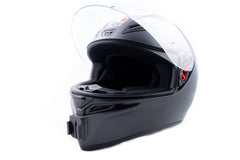
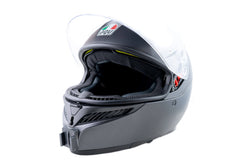
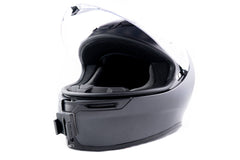
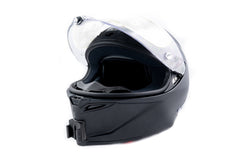
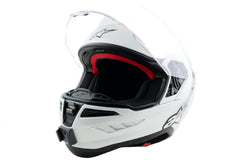
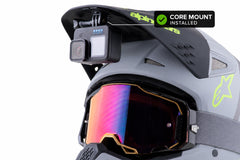
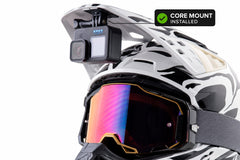
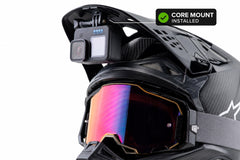
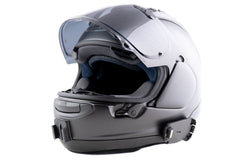
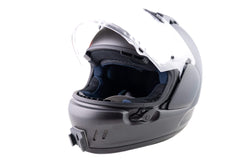
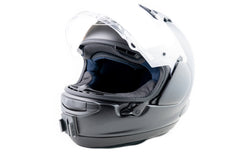
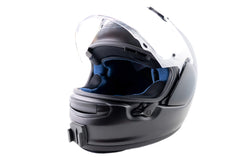
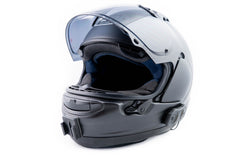
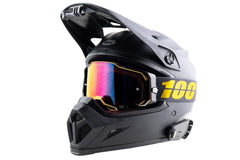
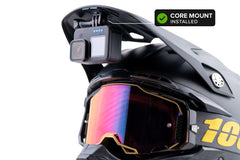
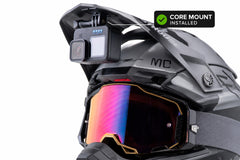
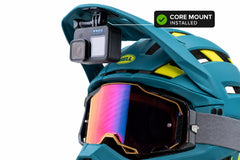
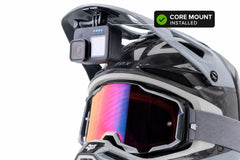
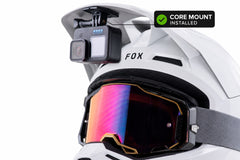
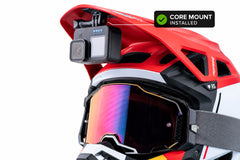
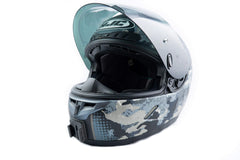


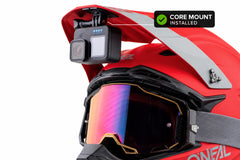
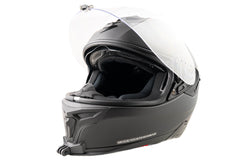
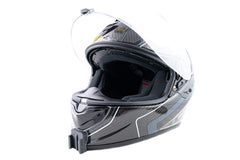
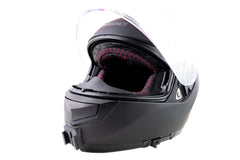
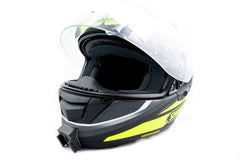
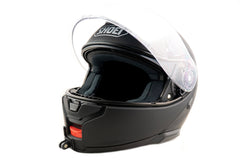
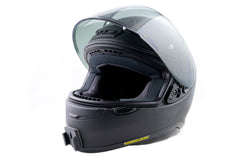
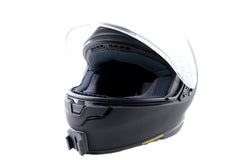
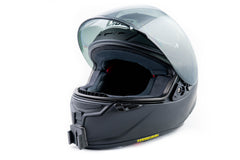
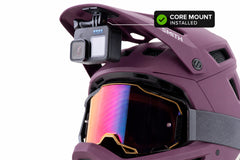
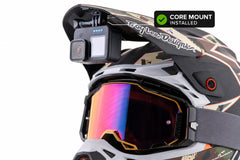
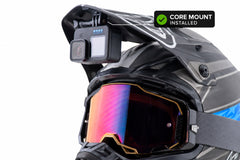
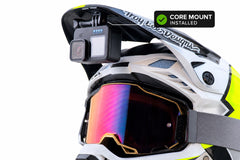
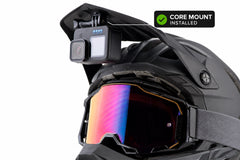
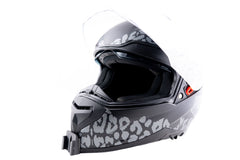
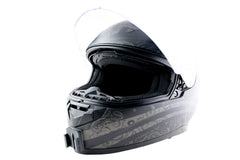
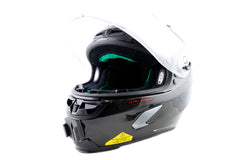
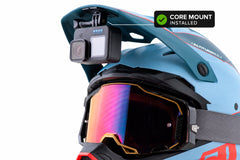


Flexible Visor Mount Installation
Step 1.
Using the provided cleaning pad, clean the mounting surface.

Step 2.
Peel back the adhesive backing.

Step 3.
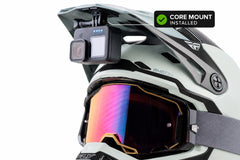
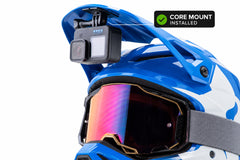
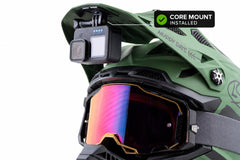
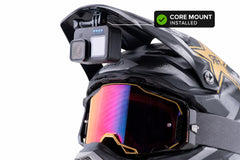
Firmly press the camera mount onto the mounting surface.

Step 4.
For flat visors (peaks), use the thumbscrew to secure the camera. For angled visors (peaks) where there is not enough space for the thumbscrew, use the low-profile bolt.

Step 5.
Some helmets have height-adjustable visors (peaks) that may move downward under the weight of an action camera. If this happens, use the provided PCL beads to create a visor stopper.

Step 6.
Set the peak to its highest position and remove the bolt holding it in place.

Step 7.
Add the PCL beads to hot water heated to a minimum of 70°C (158°F).

Step 8.
Once they become clear and soft, remove them from the water and place the melted PCL putty into the open space in the visor (peak) opening. The PCL will not adhere or damage your helmet and can be remolded multiple times.

Step 9.
Fill the space to the top, while keeping the bolt hole clear and accessible.

Step 10.
Allow the PCL putty to harden, then reinstall the bolt.

Step 11.
Your mount is ready. Attach your action camera and you're ready to ride.